


Silicone molds are incredibly forgiving compared to hard steel tooling, but designing parts for polyurethane casting without respecting physical limits is a shortcut to ruined molds and warped parts. When you are looking to bridge the gap between 3D printing and full-scale injection molding, vacuum casting is usually the smartest bet for producing ten to fifty high-fidelity replicas. Silicone’s natural elasticity allows you to ignore many of the strict draft and undercut rules that govern steel molds. Failing to understand how polyurethane behaves as it cures, however, will lead to uneven shrinkage and ugly surface sink marks.
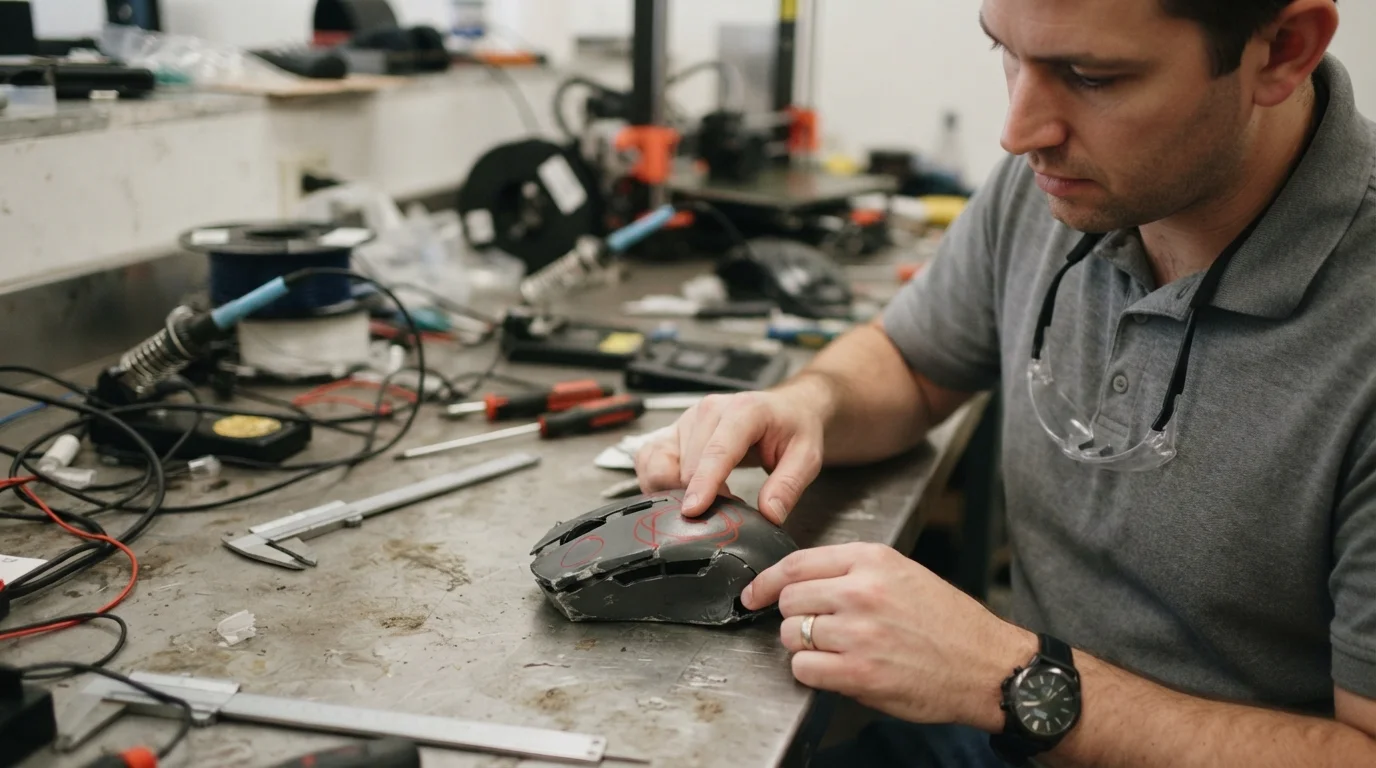
Every engineer who has watched a fresh polyurethane casing pull out of a mold knows that material selection dictates your success on the bench. Sourcing raw resin grades that mimic production-grade ABS, flexible rubber, or optically clear polycarbonate lets you conduct real-world abuse tests cheaply. Taking time to establish solid, practical guidelines prevents expensive re-machining of master models during critical launch windows. Let’s look at how you can optimize your geometries to get retail-grade parts without tearing your silicone molds apart.
Table of Contents
1. Silicone Elasticity and Why Draft Angles Still Matter
2. Polyurethane Shrinkage, Heavy Ribs, and Sink Risks
Silicone Elasticity and Why Draft Angles Still Matter
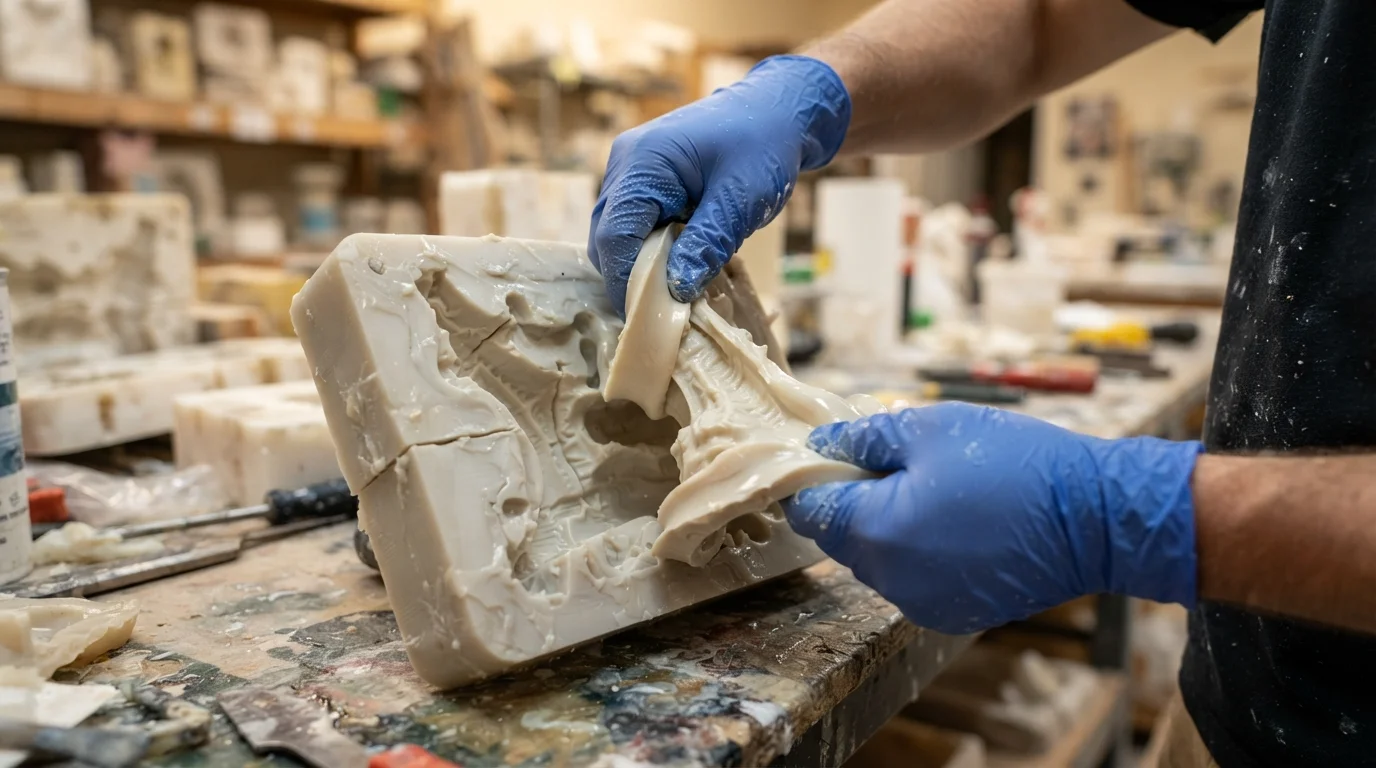
Question: Do you need draft angles for silicone molds? Silicone is flexible enough to pull past zero-draft walls and minor undercuts, but adding at least 0.5 degrees of draft dramatically extends mold life.
Designers love silicone molding because they can bypass the strict draft rules that make injection molding so expensive. Flexible rubber cavities stretch and deform, letting you pull parts with zero draft or even significant undercuts without using mechanical slides. Dragging raw polyurethane against zero-draft rubber walls repeatedly, however, creates high friction that tears the delicate silicone details apart within ten cycles. Implementing basic vacuum casting design guidelines protects your tooling investment, ensuring you get thirty or forty clean pulls before the mold degrades.
Polyurethane Shrinkage, Heavy Ribs, and Sink Risks
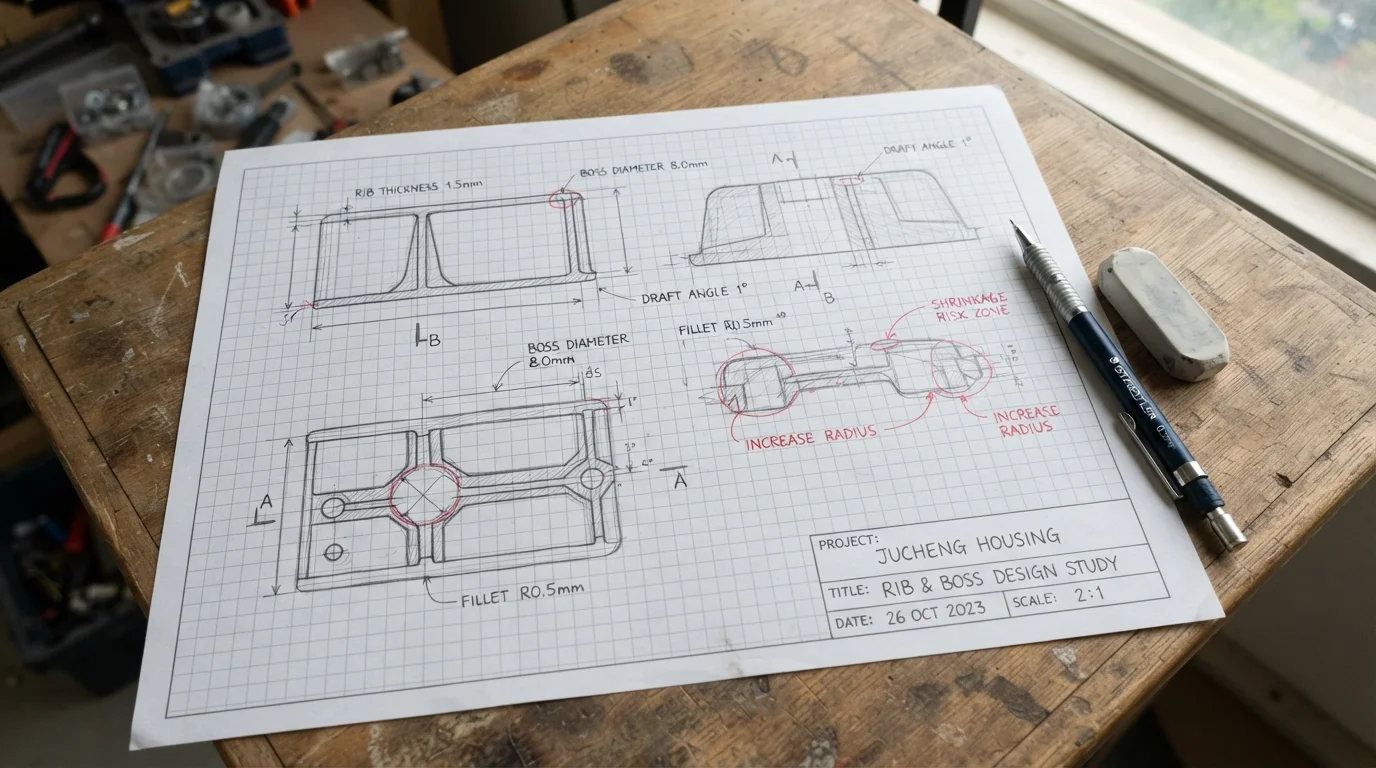
Question: How much does cast polyurethane shrink? Standard casting resins experience a baseline shrinkage of approximately 0.15% to 0.25%, which must be modeled when machining the master pattern.
Polyurethane casting resins undergo an exothermic chemical reaction as they cure, generating localized heat that causes the polymer to contract as it solidifies. Solid, heavy features like thick screw bosses or heavy mounting brackets cool much slower than thin exterior walls. Differential cooling rates pull the exterior skin inward, creating visible, ugly sink marks on your show surfaces. Integrating smart rapid prototyping design principles helps you avoid these cosmetic defects by keeping your wall thicknesses as uniform as possible.
Rib features are excellent for adding structural stiffness to large-format enclosures without adding bulk or slowing down cure times. Sizing internal ribs to 60 percent of the nominal wall thickness prevents shrinkage stresses from deforming the exterior cosmetic faces. We find that maintaining uniform cross-sections is the easiest way to prevent post-mold warpage on large panels. Let’s compare standard design parameters to help you configure your next CAD layout:
| Design Detail | Recommended Standard | Why We Recommend This |
|---|---|---|
| Wall Thickness | 1.5 mm to 3.0 mm | Prevents air bubble traps, ensures uniform polyurethane flow |
| Draft Angles | 0.5° minimum | Extends silicone mold life, prevents surface scuffing |
| Rib Thickness | 60% of adjacent wall | Eliminates cosmetic sink marks on opposite show faces |
| Undercuts | 2.0 mm maximum depth | Allows part to snap free from flexible silicone without tearing rubber |
Mastering Parting Lines and Pouring Gate Placements
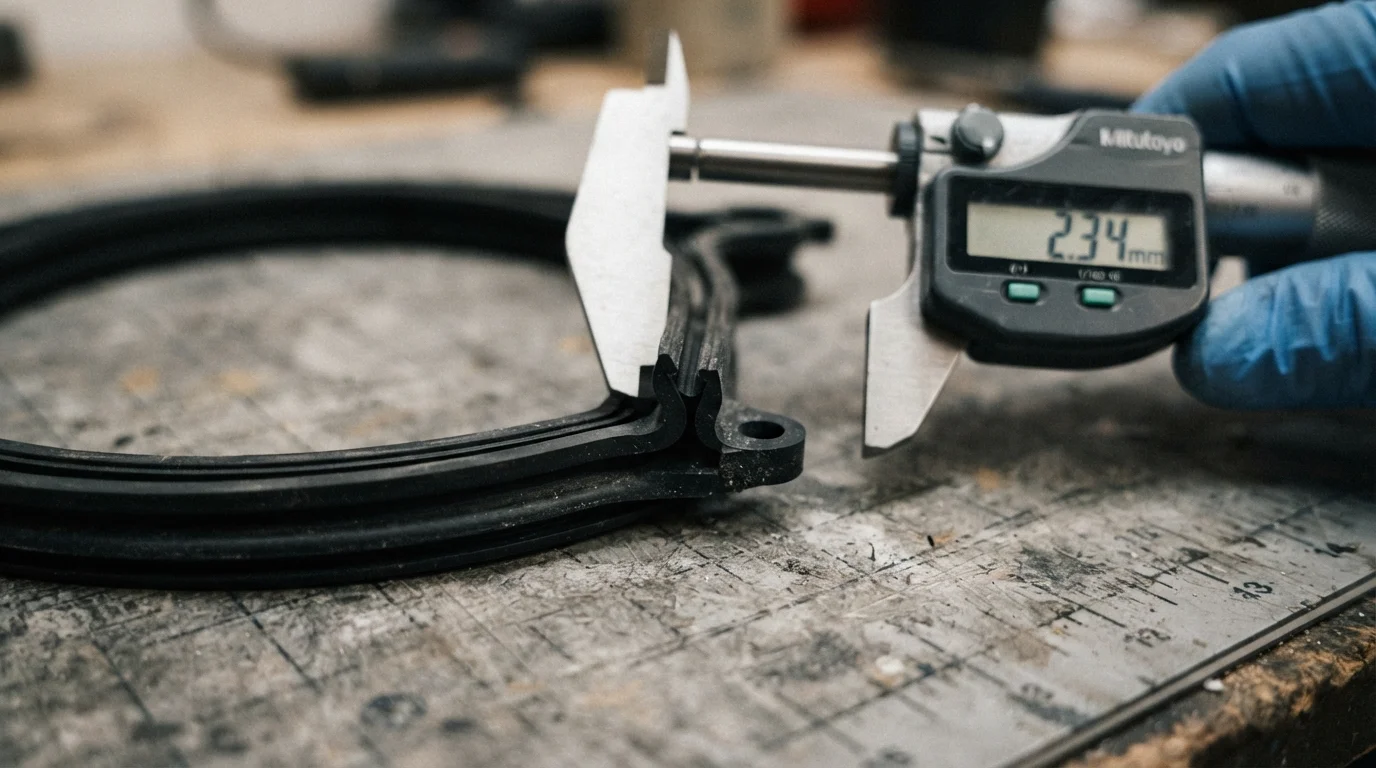
Question: Where should the mold parting line be located? Placing the parting line along natural sharp edges or flat geometric boundaries makes flash removal easy and hides cosmetic blemishes.
Silicone mold makers cut the rubber cavity open manually using sharp knives, creating a visible parting line where the halves meet. Molten polyurethane always escapes along this seam, leaving a thin line of plastic flash that must be manually sanded off. Positioning your parting line on sharp corners or non-cosmetic back edges prevents manual trimming operations from scratching premium visual surfaces. Sourcing early engineering reviews helps you plan parting lines strategically before pouring liquid rubber over your master pattern.
Pouring gates and air vents must also be located carefully to prevent cosmetic damage to critical exterior surfaces. Liquid polyurethane enters the mold through these gates, which must be manually clipped and sanded flush after the part cures. Positioning gates on interior mounting tabs or hidden underside faces preserves pristine exterior styling. Following proven vacuum casting design guidelines ensures your low-volume parts look and perform exactly like high-end injection molded products.
Jucheng Precision operates a fully equipped manufacturing workspace containing 150+ CNC machines, including 25 high-precision 5-axis Haas/Mazak machines to carve flawless master patterns. Sourcing early 24-hour free DFM analyses helps product groups optimize gate placements, parting lines, and draft profiles before pouring silicone. Sourcing high-fidelity vacuum-cast parts within 5 to 10 days lets you run extensive field validation tests with absolute confidence. Flexible manufacturing programs with no minimum order requirements allow design groups to iterate custom hardware over multiple small-batch runs safely.
Frequently Asked Questions (FAQ)
How many parts can you pull from a single silicone mold before it fails?
Most silicone molds yield twenty to thirty clean pulls before the rubber becomes brittle and begins to tear. Designing parts with gentle draft angles and generous fillets helps preserve the cavity walls, extending mold life up to forty runs.
Can you overmold soft elastomer rubber onto hard plastic using vacuum casting?
Polyurethane overmolding is highly effective, allowing you to cast soft-touch elastomer rubber directly onto rigid plastic cores. Designers specify mechanical undercut notches to guarantee a permanent, physical bond between both materials.
What is the most common mistake made in vacuum casting design guidelines?
Ignoring polyurethane material shrinkage when machining the master pattern represents the most common design oversight. Mold makers must scale up the master pattern CAD file by approximately 0.2 percent to compensate for natural polymer contraction as it cures.

