ㆍPrivacy: We respect your privacy. Here you can find an example of a non-disclosure agreement. By submitting this form, you agree to our terms & conditions and privacy policy.
Views: 3 Author: Allen Xiao Publish Time: 2025-12-03 Origin: Site


The parts have arrived from the machine shop. They look beautiful. The surface finish is perfect. The dimensions, according to your calipers, are spot on. Then, you go to assemble them. And they do not fit.
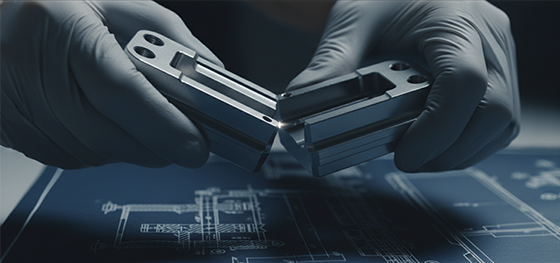
A shaft is just a little too tight for its hole. A lid will not quite snap onto its base. This is the agony of the "almost" fit. It is one of the most maddening problems in engineering. And it is almost always a problem of misunderstanding a critical concept.
That concept is CNC machining tolerances. This is not just a detail for the drawing. It is the secret language that governs how physical objects fit together in the real world.
content:
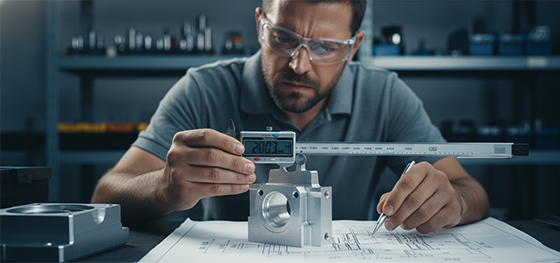
Why does this happen? Your CAD model is perfect. All the parts fit together perfectly on your screen.
The problem is that the real world is not perfect. Manufacturing is a physical process. There will always be some tiny, microscopic variation. A machine tool vibrates. A cutting edge wears down. The temperature in the factory changes.
No two parts can ever be made exactly identical. There will always be a tiny difference. The question is not "if" there is a variation, but "how much" variation is acceptable. This is the world of tolerances.
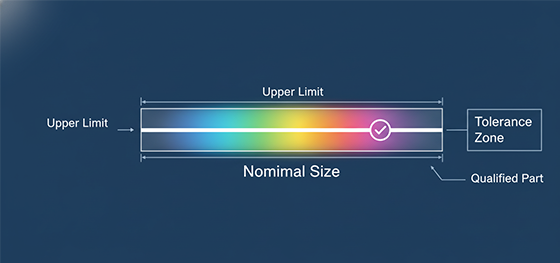
A tolerance is an instruction. It is the language a designer uses to tell a manufacturer how much a specific dimension is allowed to vary from the perfect, nominal value.
When you see a dimension on a drawing that says "10.00 ±0.05 mm," that "±0.05" is the tolerance. It means the manufacturer is allowed to produce a part where that feature measures anywhere between 9.95 mm and 10.05 mm.
This "zone of acceptable imperfection" is what makes assemblies possible. For a shaft to fit inside a hole, the designer must specify a tolerance for the shaft that is slightly smaller than the tolerance for the hole. This guarantees that even the largest possible shaft will still fit inside the smallest possible hole.
Mastering CNC machining tolerances is about managing these "stacks" of variations across multiple parts to ensure they always fit together.
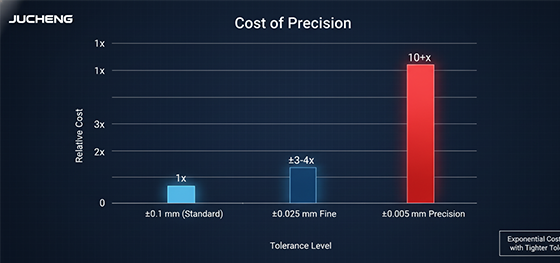
It is easy for a designer to just put very tight tolerances on every dimension. It feels safer. But this is a very expensive mistake.
The relationship between precision and cost is not linear. It is exponential. Halving a tolerance does not double the cost. It can increase it by five or ten times.
To hold a very tight tolerance, a manufacturer has to run their machines slower. They have to use brand-new, expensive cutting tools. They might have to perform multiple finishing passes. And they have to spend much more time on inspection to verify the result.
The secret to smart design is to use tight tolerances only where they are absolutely necessary. On critical mating surfaces, for example. For all non-critical features, you should use a looser, standard tolerance. This is the key to creating a cost-effective part.
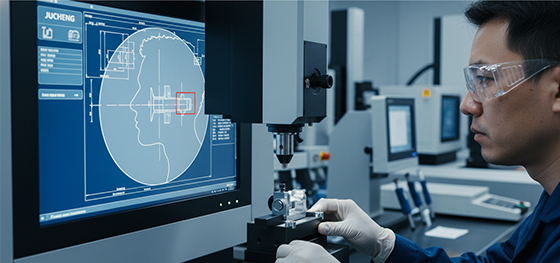
From a manufacturer's point of view, a tolerance is a promise. It is our job to deliver a part that is within the zone you have defined.
Achieving this promise, especially with tight tolerances, requires a huge investment in technology and process control.
It requires high-end, well-maintained CNC machines, like the 5-axis machines we use at JUCHENG. It requires a temperature-controlled environment to prevent the parts from expanding or contracting during measurement.
And most importantly, it requires advanced metrology equipment. For the tightest tolerances, a simple pair of calipers is not good enough. We use a CMM (Coordinate Measuring Machine). This is the ultimate source of truth. It can measure parts with a precision of a few microns. This is how we can confidently guarantee that our parts meet your most demanding specifications.
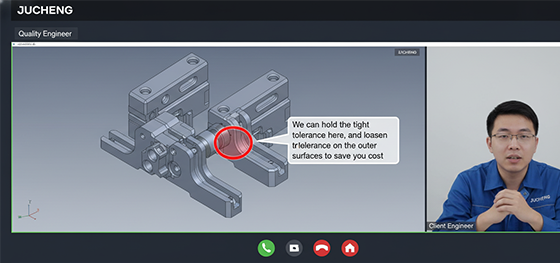
The best results happen when the designer and the manufacturer work together as partners.
A good partner will not just blindly accept your drawing. Our engineers will review your tolerances. If we see a very tight tolerance on a non-critical feature, we will ask you about it.
We might say, "Is this ±0.01mm tolerance really needed on this outer surface? If we can loosen it to our standard of ±0.05mm, we can save you 30% on the cost of this part." This DFM (Design for Manufacturability) feedback is a core part of a good CNC Machining service.
This collaborative approach ensures that you get the precision you need, exactly where you need it, without paying for unnecessary precision where you do not. This is the secret to a perfect, and cost-effective, final assembly.

