


Validating complex organic geometries and hollow internal channels directly from a CAD screen is a massive physical hurdle during the early R&D phase. Specifying rapid prototyping 3d printing provides your engineering teams with an exceptionally fast, non-destructive path to verify aesthetic proportions and test assembly clearances without committing to expensive tooling. This additive process serves as the core of modern rapid prototyping service, utilizing targeted high-energy light beams to cure or sinter raw polymers and metals into precise, layered parts with near-zero material waste.

Suffer from layered parts that shear under dynamic load, or display rough surfaces that require extensive manual post-polishing before client meetings? When designs are exported without analyzing how support structures alter local surface roughness, or how layer orientation affects tensile strength, the resulting parts will split along their laminate tracks. Proactively selecting the optimal additive technology and matching it to your mechanical requirements is the best way to secure your product development schedule.
Let's explore how additive manufacturing compresses your validation cycles, compare the mechanical limits of SLA, SLS, and DMLS technologies, and analyze the economic threshold for transitioning from printed parts to quick-turn injection molding.
How Additive Manufacturing Accelerates R&D
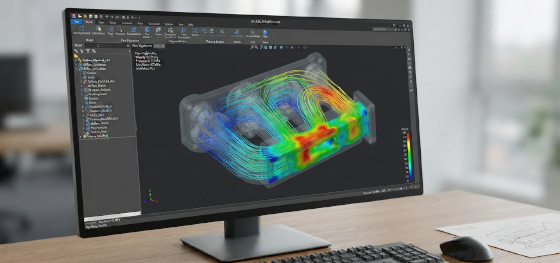
Bypassing standard machining setups is the primary advantage of integrating 3D printing into your workflow. Traditional subtractive milling is limited by tool access, requiring complex multi-axis setups and custom fixtures. This digital-to-physical additive manufacturing process builds geometries layer-by-layer directly from your CAD slices, enabling complete design freedom.
This speed allows product developers to compress their design-validation loops from weeks into hours. By printing multiple design variations in a single overnight batch, engineers can physically evaluate fit, form, and ergonomics simultaneously. This rapid iteration compresses the overall rapid prototyping process, helping your team identify clearance flaws and optimize parts long before releasing tooling drawings.
Comparing Main 3D Printing Technologies (SLA vs SLS vs DMLS)
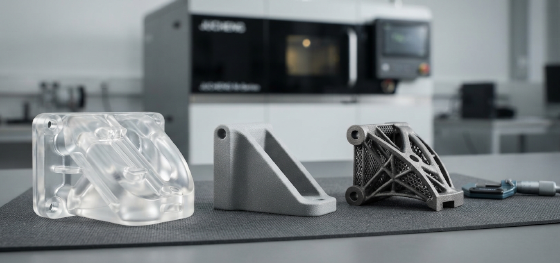
To extract maximum value from rapid prototyping 3d printing, designers must distinguish between standard additive methods based on raw physical constraints. The first major option is stereolithography (SLA). This process utilizes UV lasers to cure liquid photopolymer resin, building parts with smooth, non-porous surfaces and precise tolerances, making it the preferred choice for detailed cosmetic mock-ups.
For rugged, load-bearing parts, selective laser sintering (SLS) is specified. Sintering utilizes a CO2 laser to fuse nylon powders (like PA12 or PA11) into dense, solid structures. Because the powder bed supports the part during printing, SLS requires no physical support columns, enabling extreme geometric freedom. For structural metal parts, direct metal laser sintering (DMLS) fuses high-purity metal powders with high-power lasers, delivering dense titanium or steel components for extreme environments.
Visual Models vs. Functional Prototypes
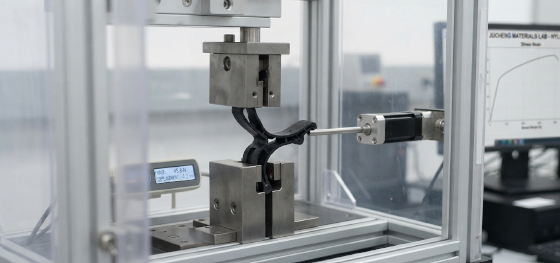
Selecting the incorrect printing method for your specific validation goals can lead to misleading test results. For instance, using SLA resin to test snap-fits or living hinges often results in parts snapping on the first cycle due to high material brittleness. SLA is strictly optimized for visual evaluations, slide-fit checks, and silicone mold masters.
To test actual mechanical strength, SLS nylon or DMLS metal are mandatory. These materials can withstand real functional forces, allowing you to run pressure-leak tests on fluid manifolds, verify snap-fit retention forces, and evaluate physical threads under torque. However, because sintered parts possess a rough, powdery finish, they require secondary polishing or clear coating to achieve cosmetic visual presentation standards.
Scaling Up: When to Move from 3D Printing to Molding
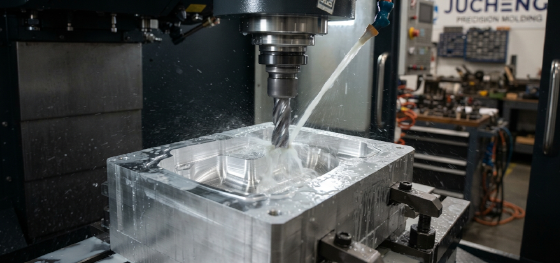
While 3D printing is highly cost-effective for batches under 50 units, its high unit price and slow cycle times represent a massive bottleneck as your volume demands scale. When your project requires hundreds or thousands of functional parts, transitioning from additive printing to rapid injection tooling is the most practical path to lower unit costs and secure production-grade material properties.
At Jucheng Precision, we bridge this scaling gap by integrating rapid tooling services directly with our additive bays. We manufacture modular aluminum or soft steel molds in days, utilizing our 35+ automated injection molding machines (ranging from 50 to 650 tons) to produce batches of 100 to 10,000 components using production-grade thermoplastics. This seamless transition ensures that your parts are validated in our 3D printing bay and then scaled to volume under one roof, keeping your overall rapid prototyping service costs exceptionally low.
FAQ: Critical Questions About Rapid Prototyping 3D Printing
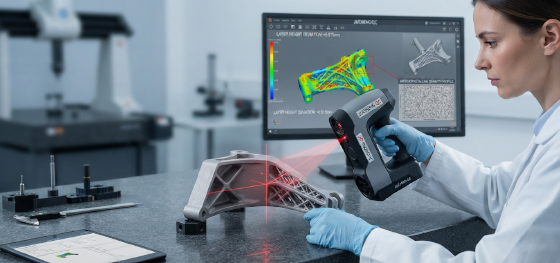
Our engineering team has compiled professional, concise solutions to the most common quality challenges faced during quick-turn 3D printing runs:
What causes the anisotropic strength weakness in printed parts?
Printed parts possess anisotropy because they are built layer-by-layer; the mechanical bonds across the Z-axis (between printed layers) are weaker than the bonds along the X and Y axes (along the layer tracks).Can SLA resins handle standard industrial thread tapping?
No, standard SLA resins are too brittle and will easily chip and crack under the torsional stress of a tapping tool. We recommend designing threaded metal inserts to be heat-staked or pressed into the printed parts post-cure.Why is sandblasting or tumbling necessary for SLS printed parts?
SLS uses raw powders, leaving a textured, powdery finish on raw printed surfaces. We run finished nylon parts through automated tumbling and sandblasting to remove loose powder, creating a uniform, satin-matte texture.Why is the layer height parameter critical in rapid prototyping 3d printing setups?
Layer height dictates both the visual resolution of cosmetic curves and the degree of anisotropic strength weakness; thinner layers increase detail but increase total print times.

