From Flat Sheet to Finished Part: The Prototyping Process
Views: 1 Author: Allen Xiao Publish Time: 2025-11-10


Many engineers think prototyping means CNC machining or 3D printing. They are right. But they are also missing a huge piece of the puzzle.
What if your product is an electronics enclosure? Or a server chassis? Or a mounting bracket? These parts are not carved from a solid block. They will be made from sheet metal in production. If you do not test your design using sheet metal prototyping, you are risking a major failure later.
A 3D print cannot tell you if your bend radius is correct. It cannot test the strength of a weld. This guide will explain the entire process of sheet metal prototyping. It will show you how to avoid expensive problems.
content:
Why Sheet Metal is Different
Good Sheet Metal Design is the Foundation
The Core Fabrication Steps
A Real-World Example: Custom Sheet Metal Brackets
Finishing Your Prototype Sheet Metal Parts
Why Sheet Metal is Different
Sheet metal fabrication is a unique process. It does not remove material from a solid block. It takes a flat sheet of metal. Then it cuts and bends it to create a 3D shape.
This is how most metal enclosures, panels, and brackets are made in mass production. It is strong. It is lightweight. It is cost-effective.
This is why sheet metal prototyping is so important. It forces you to test a design that is close to the final production method. It lets you find problems with your bends, holes, and assembly before you invest in expensive tooling.
Good Sheet Metal Design is the Foundation

Success starts with a good sheet metal design. This is very different from designing a part for CNC machining.
You must think in terms of flat patterns. Your entire part must be able to be "unfolded" into a flat 2D shape. A good designer knows how to create this flat pattern from their 3D model.
There are a few key rules for good sheet metal design.
Uniform Thickness. The entire part should have the same material thickness.
Bend Radius. Every bend needs a radius. You cannot have a perfectly sharp 90-degree corner. The radius should be at least equal to the material thickness. This is a very common design mistake.
Hole Placement. Holes should not be too close to a bend. This can cause the hole to deform during the bending process.
A good manufacturing partner will review your design. They will give you DFM feedback on your sheet metal design. This helps you fix problems before any metal is cut.
The Core Fabrication Steps
The process of rapid sheet metal prototyping has a few main steps.
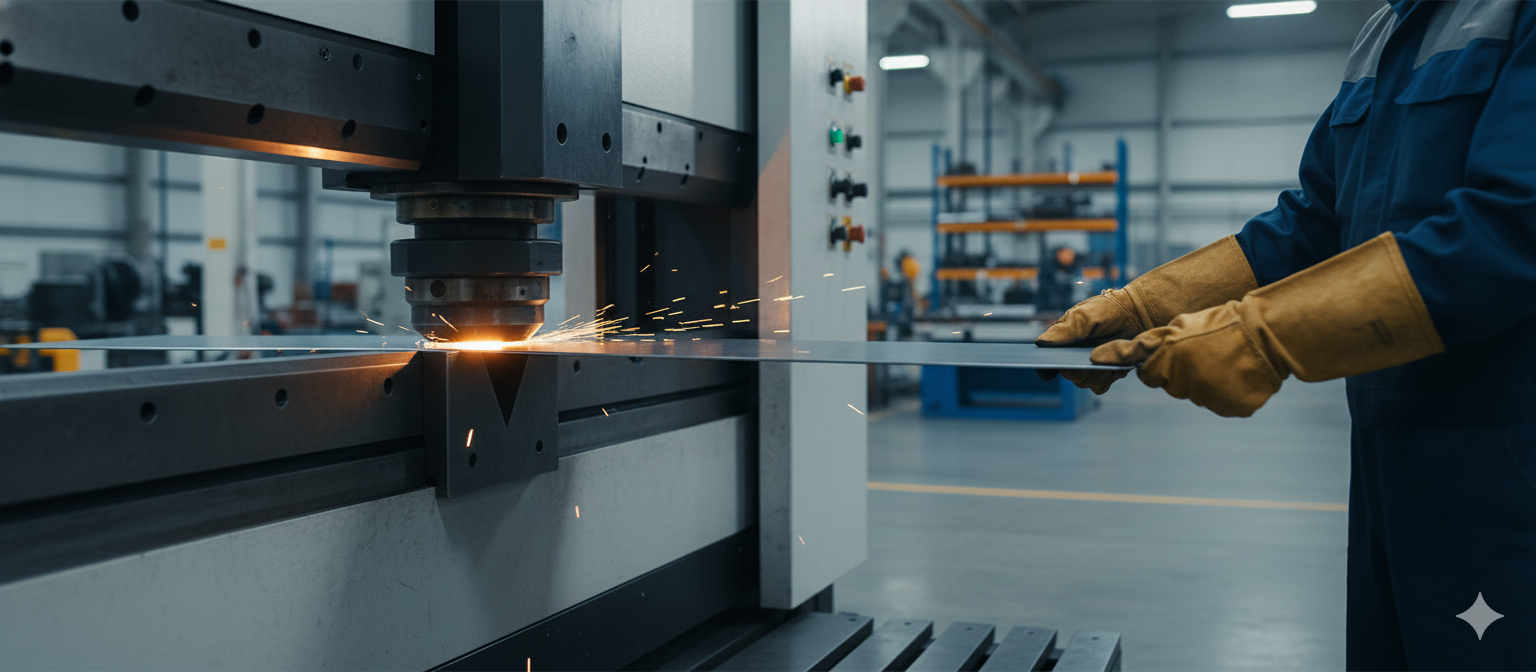
First is cutting. A laser cutter is the main tool here. It takes the 2D flat pattern from your CAD file. It uses a powerful laser to cut this shape from a large sheet of metal. It is extremely fast and precise. It can cut steel, aluminum, and stainless steel.
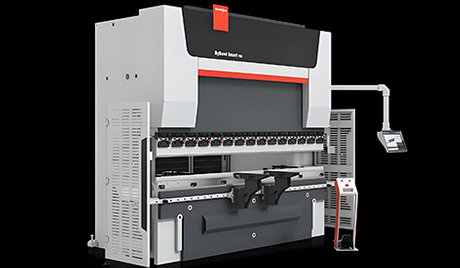
Second is bending. This is how the flat part becomes a 3D shape. The cut part is placed in a machine called a press brake. A powerful tool presses the metal along a line. This creates a clean, accurate bend. The operator repeats this for all the bend lines in your design.
Third is hardware insertion. Many sheet metal parts need threaded inserts or standoffs. These are pressed into the metal using a special machine. This allows you to screw other components onto your part.
Finally, if your design has multiple pieces, there is assembly. This can involve welding, riveting, or using fasteners. This is how we build complex assemblies like a full computer case from several smaller parts.
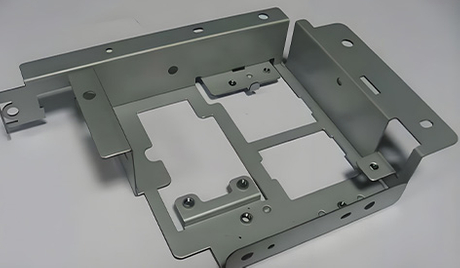
A Real-World Example: Custom Sheet Metal Brackets
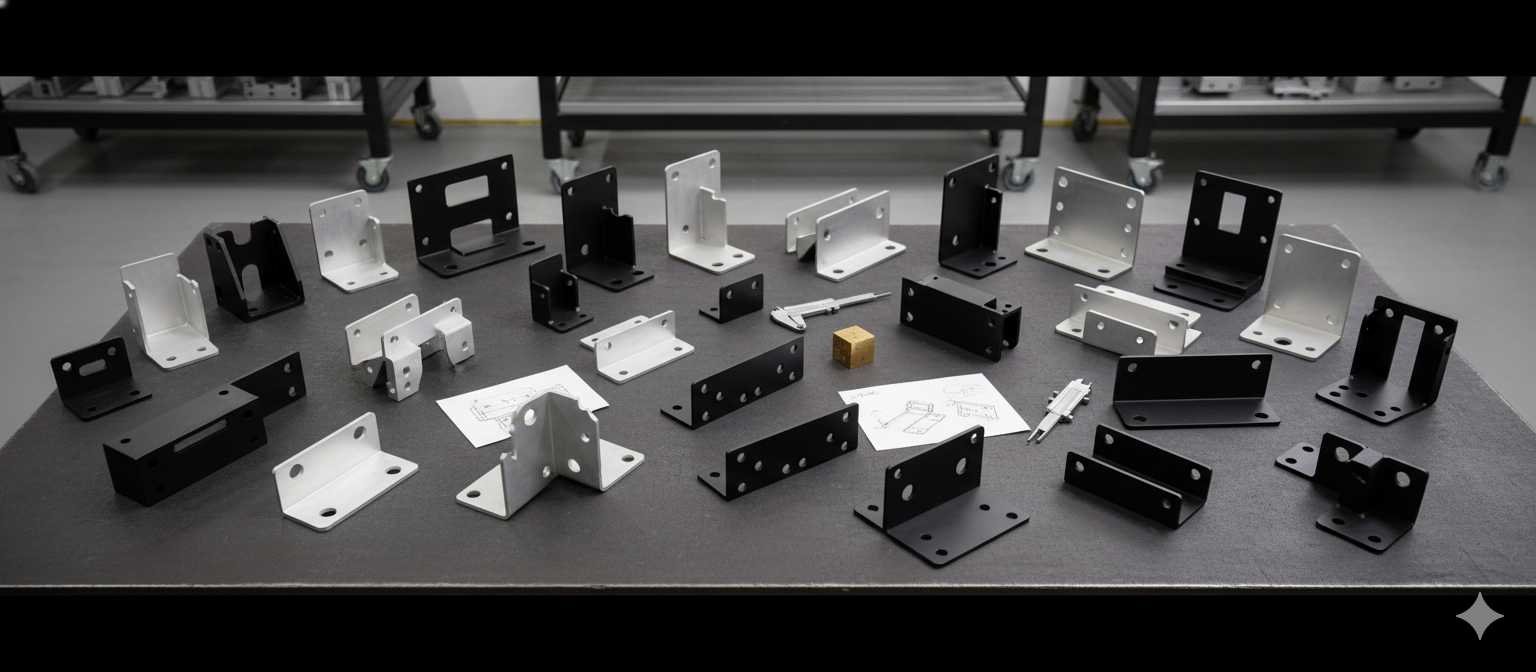
Let's look at a common part. Many projects need custom sheet metal brackets. These are used to mount components inside a larger assembly.
The process starts with a simple design. A flat shape with a few holes and two bend lines.
The flat shape is first cut from a sheet of aluminum on a laser cutter. This takes only a minute. Then, the part goes to the press brake. The operator makes two precise 90-degree bends. The bracket now has its 3D shape. Finally, if needed, we can press in threaded inserts.
This entire process for simple custom sheet metal brackets can be done very quickly. This is the core of rapid sheet metal prototyping. You can get your custom parts in just a few days.
Finishing Your Prototype Sheet Metal Parts
A raw metal part is often not the final step. A professional sheet metal prototyping service will offer many finishing options.
Finishing makes your prototype sheet metal parts look and perform like final production parts. It also protects them from corrosion.
Common finishing options include:
Powder Coating. This applies a durable, colored powder to the part. It is then baked in an oven. This creates a hard, protective, and beautiful finish. It is available in many colors and textures.
Anodizing. This is an electrochemical process for aluminum parts. It creates a very hard, corrosion-resistant surface. It can be clear or colored.
Silkscreening. This allows you to print logos, labels, and text directly onto your parts. This is essential for front panels and enclosures.
Brushing and Graining. This gives the metal a beautiful, decorative finish. It is often used on stainless steel and aluminum.
Good prototype sheet metal parts are a combination of good design, precise fabrication, and a professional finish. This process allows you to fully test your product's form, fit, and function. It is a critical step to ensure your product is ready for the market.