How to Make Resin Molds: Deep Guide
Views: 29 Author: Allen Xiao Publish Time: 2025-08-08


Resin molds are essential tools for crafting unique, durable, and high-quality resin art pieces. Whether you're making jewelry, coasters, or decorative items, a well-made mold ensures precision and consistency. This guide will walk you through the process of creating resin molds using different materials like silicone, epoxy, and UV resin, along with tips for selecting the right kit and techniques.
content:
Choosing the Right Material for Resin Molds
Step-by-Step Process to Make Resin Molds
Tips for Perfect Resin Molds
Choosing the Right Material for Resin Molds
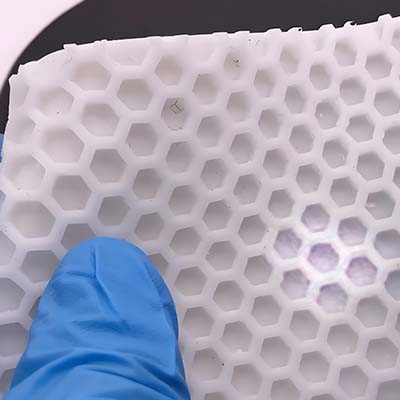
The most popular material for making resin molds is silicone due to its flexibility, durability, and non-stick properties. Silicone molds are ideal for intricate designs because they capture fine details and allow for easy demolding. For beginners, a casting silicone kit is a great choice since it comes with everything needed to create custom molds.
Epoxy resin is commonly used for filling molds because of its strong adhesion and glossy finish. However, if you prefer faster curing times, UV resin is an excellent alternative since it hardens quickly under UV light. When selecting a material, consider factors like flexibility, heat resistance, and ease of use.
Step-by-Step Process to Make Resin Molds
1. Prepare Your Master Model
Before making a mold, you need a master model—this could be a 3D-printed object, a clay sculpture, or even a pre-made coaster. Ensure the model is clean and free of imperfections since any flaws will transfer to the final mold.
2. Select a Mold-Making Kit
A high-quality kit simplifies the process by including silicone base, catalyst, mixing tools, and instructions. If you're working with epoxy or UV resin, choose a kit compatible with your chosen resin type.
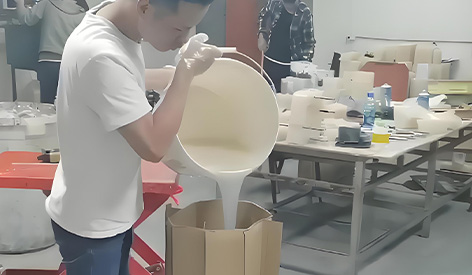
3. Mix and Pour the Silicone
Follow the kit instructions to mix the silicone components thoroughly. Pour the mixture over your master model slowly to avoid air bubbles. For complex shapes, consider using a brush to apply silicone in layers.
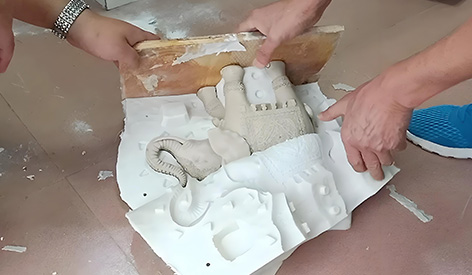
4. Cure and Demold
Allow the silicone to cure completely—this can take anywhere from a few hours to a full day, depending on the product. Once cured, gently remove the master model to reveal your custom mold.
5. Cast Your Resin
Now that your mold is ready, mix your epoxy or UV resin and pour it into the mold. Use a toothpick or heat gun to eliminate bubbles. If using UV resin, expose it to UV light for quick hardening.
Tips for Perfect Resin Molds
Use mold release spray to ensure easy demolding.
Experiment with different materials like flexible vs. rigid silicone.
Store molds properly to extend their lifespan.
Creating custom resin molds opens up endless possibilities for DIY projects. Whether you're using silicone for intricate designs or UV resin for quick results, the right techniques and material selection will help you make professional-quality molds. With practice, you can craft stunning resin pieces like jewelry, coasters, and more.